My experiments with dithering
A rabbit hole down Raspberry Pis, e-ink displays and dithering.
I wanted to gift a friend something nice on their birthday. They love clicking pictures, so when I ended up on Amazon looking at a digital photo frame, it made perfect sense! Except, I hated all of them because they all had some sort of a deal breaker:
- Need to be plugged in all the time, which limits where you can put it.
- Requires WiFi, adding one more thing to connect to the Internet.
- And the reason they need WiFi is because they had an app for it, of course!
So as any sane person would do, I went ahead and made my own using an e-ink display and a Raspberry Pi Zero 2. I chose an e-ink display because you do not need to keep it powered on for the display to be able to show things, just like a Kindle. You need minimal power, so you could attach a battery to this setup and it would keep going for a while without a charge. I also didn’t want the photo frame to connect to the Internet (all the time), so I loaded it up with a bunch of images which would then be displayed like a slideshow.
The plan sounded great, and I got to work once all the items were at my doorstep. I set up the Raspberry Pi and the display and played with the demo present in their wiki. The display I was using had a resolution of 800x480 and could show 4 colors (black, white and two shades of grey in between).

So whatever images I wanted to use needed to be downscaled in both resolution and color, for which I found a great piece of software called ImageMagick. In short, it’s like FFmpeg but for images. You can transform an image, recolor it, and convert to a wide variety of formats all in a single command.
Playing around with ImageMagick #
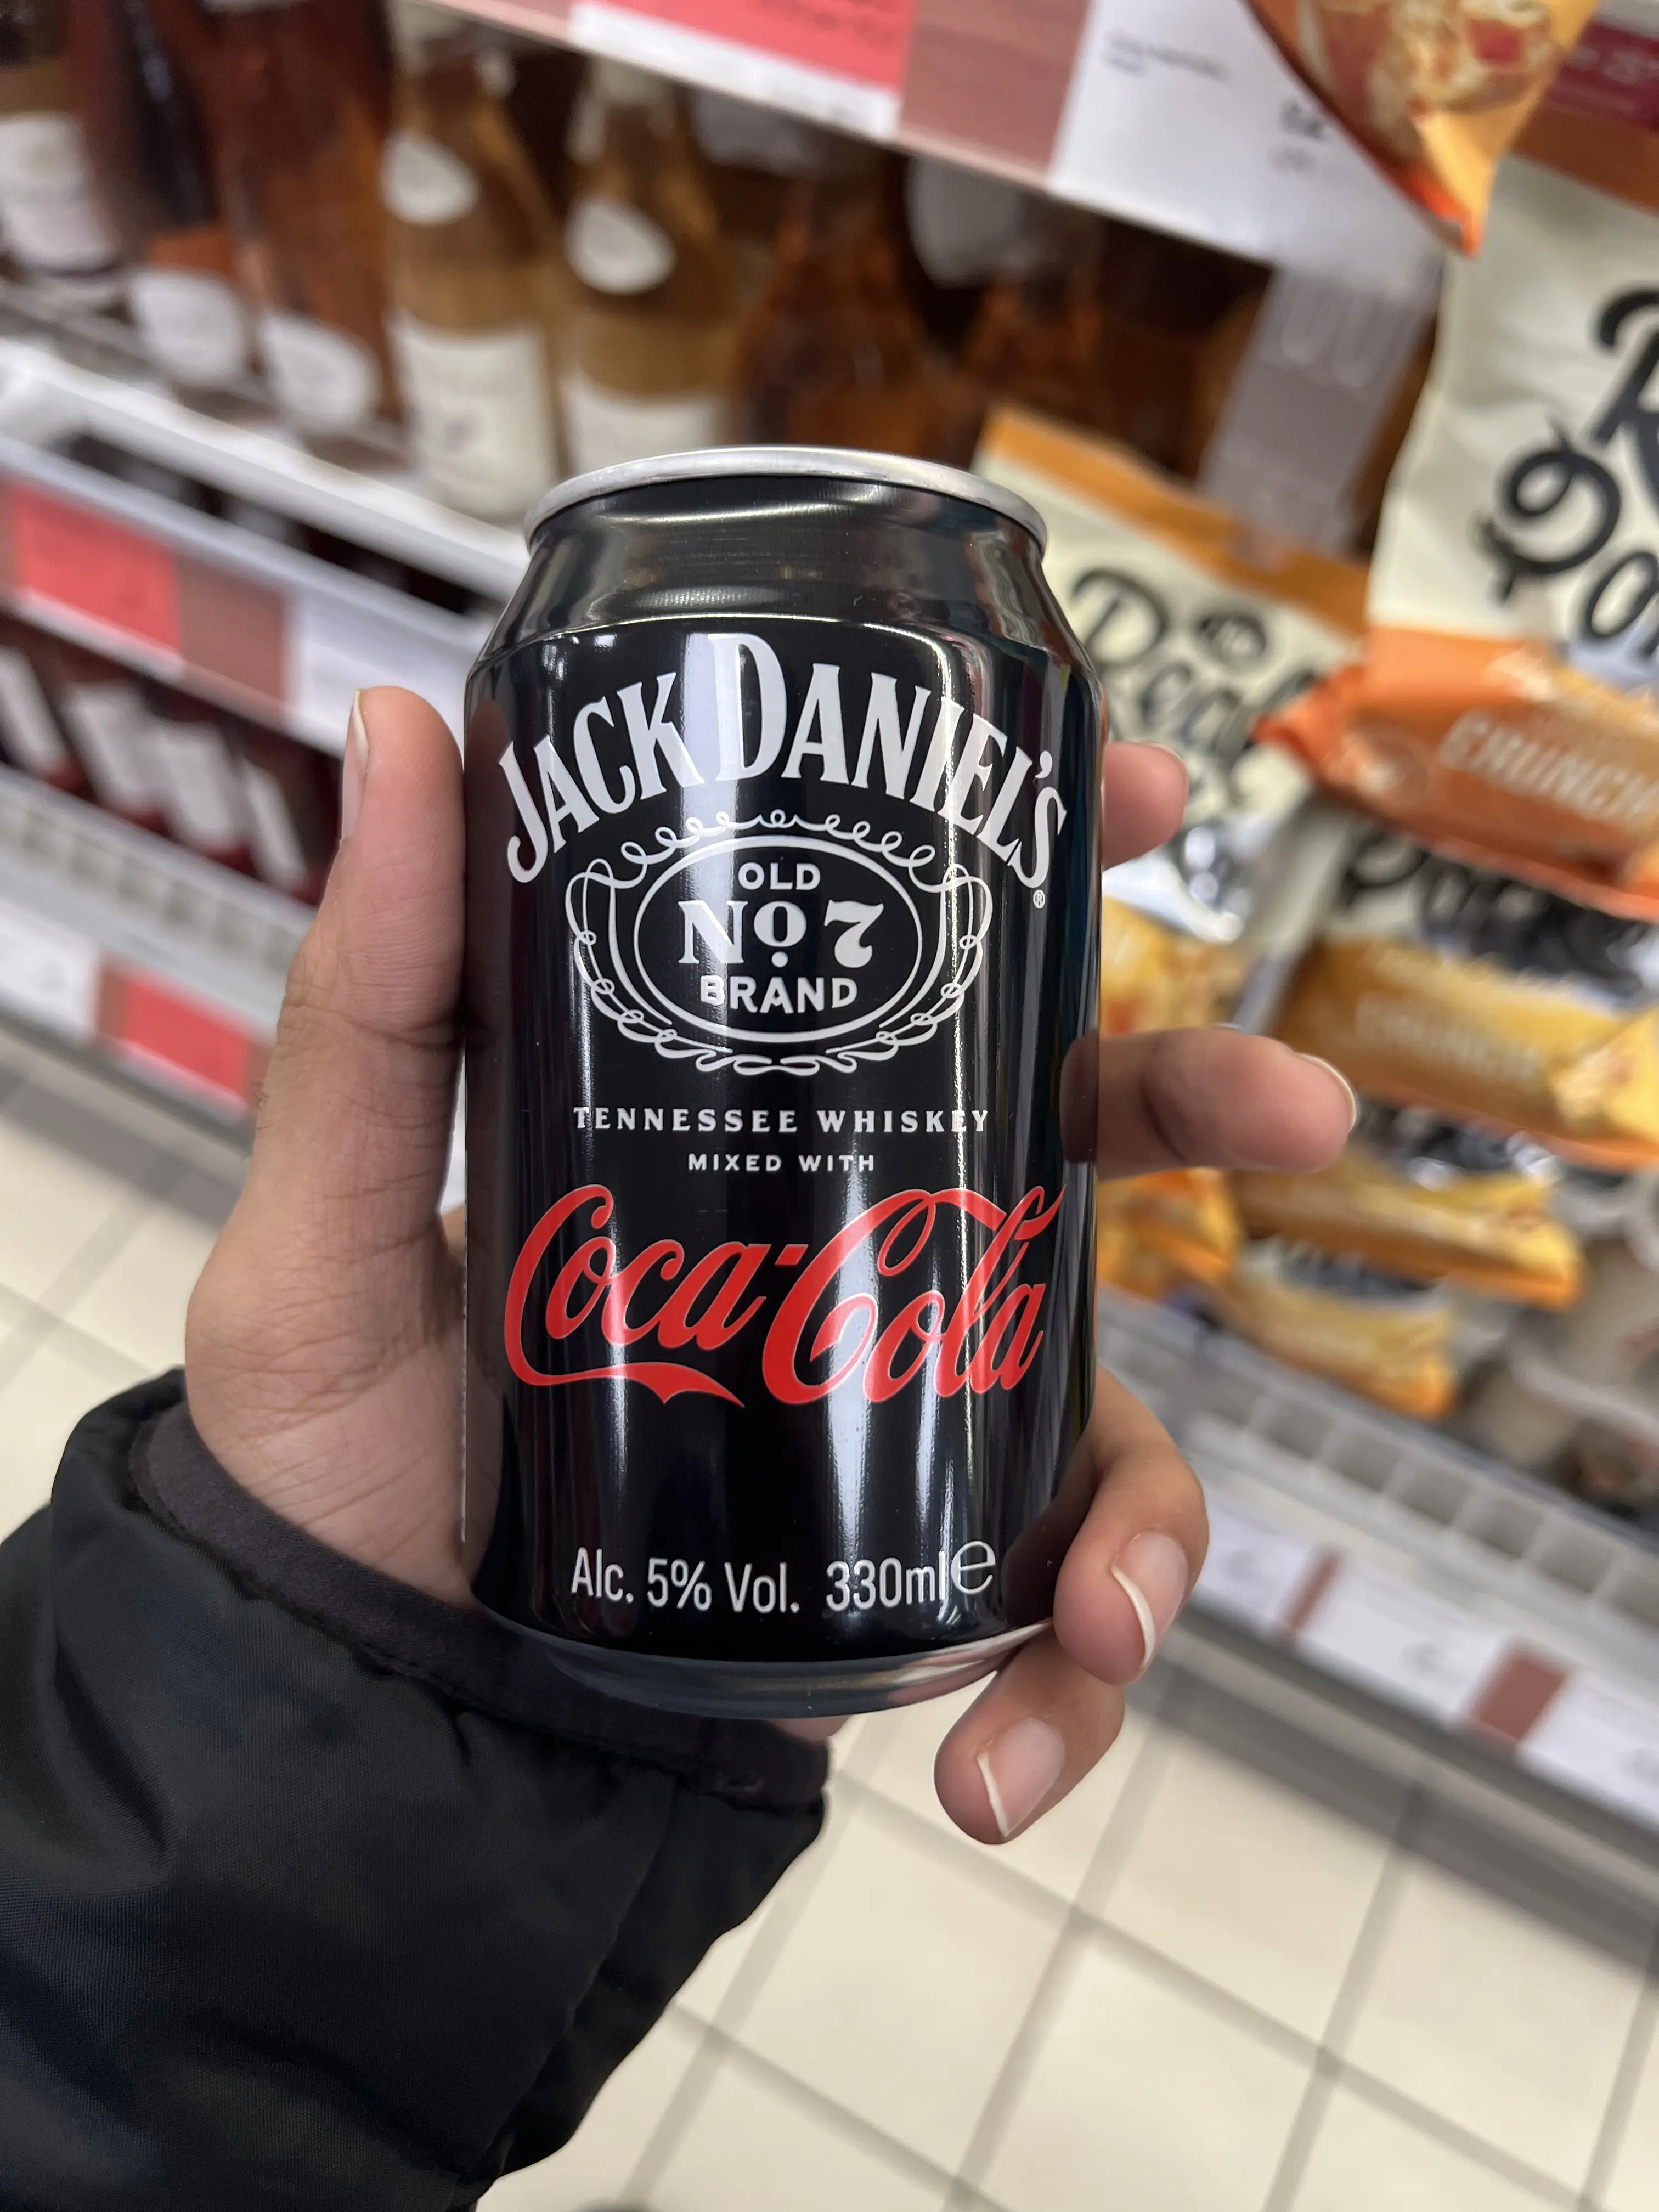
First, pick an image. I chose the following one:
Now we will reduce its resolution. It is 3024x4032 which gives us an aspect ratio of 4:3. The display I have has an aspect ratio of 5:3. I did not want to deform the image, so I decided to maintain its aspect ratio, giving me a target resolution of 640x480. This can be achieved by following command:
magick original.heif \
-resize 480x640 \
reduced.heifWhich generates the following:

Next up is replacing the colors in the image with the four shown previously and changing the file format so that the display supports it. To enable this, you add another line:
magick original.heif \
-resize 480x640 \
-colorspace gray -depth 2 -type truecolor \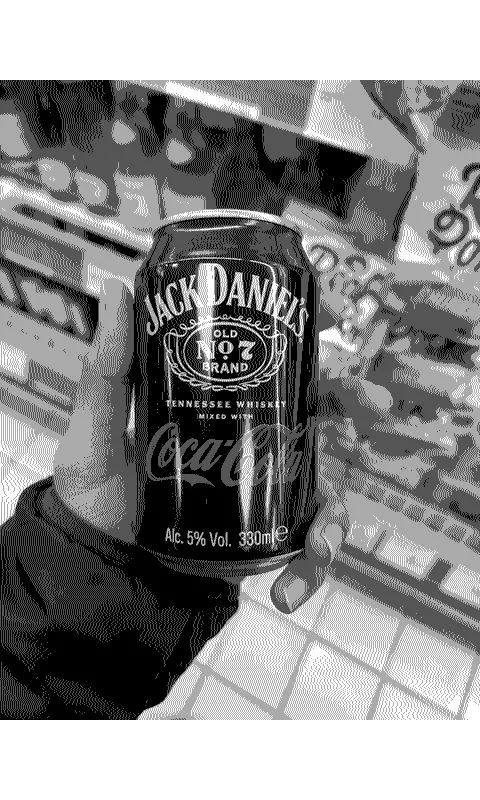
grayscale.bmpHere, the four colors I’m restricted to are used to replace the colors present in the image, based on which one of the four is “closer” to the color getting replaced. I thought this was all that I had to do, but take a look at the image and see for yourselves:

- The background is a blob of grays and is just a mess.
- When one color transitions into another, like from the left side of my thumb to the right side, it switches abruptly with a hard boundary separating them.
- Half of my sleeve is just black with no detail.
I knew that this wouldn’t cut it, which is when I started looking into options to see how I could salvage the project. That is how I stumbled upon the magic of dithering.
Dithering #
When you click a photo, you map the color space of the outside world into a more finite, discreet color space which is then saved digitally. This can lead to issues like color banding (like what we saw on my thumb). Also, if two colors are “close” to each other in the original scene, they might get mapped to the same color (similar to what happened to my sleeve), leading to loss in finer detail.
Dithering prevents this by intentionally “diffusing” out the quantization error (difference between actual color and the color used while saving the image) of a pixel around it using the reduced color space itself. This leads to less banding and also gives the illusion of having more colors.
There are different algorithms which can be used for this purpose. I went ahead with Floyd-Steinberg dithering since it was supported by ImageMagick and gave good results.
Onto the final image #
To apply dithering, you need to pass in an extra flag along with the algorithm you want to use. This changes the command to the following:
magick original.heif \
-resize 480x640 \
-dither FloydSteinberg \
-colorspace gray -depth 2 -type truecolor \
final_image.bmp

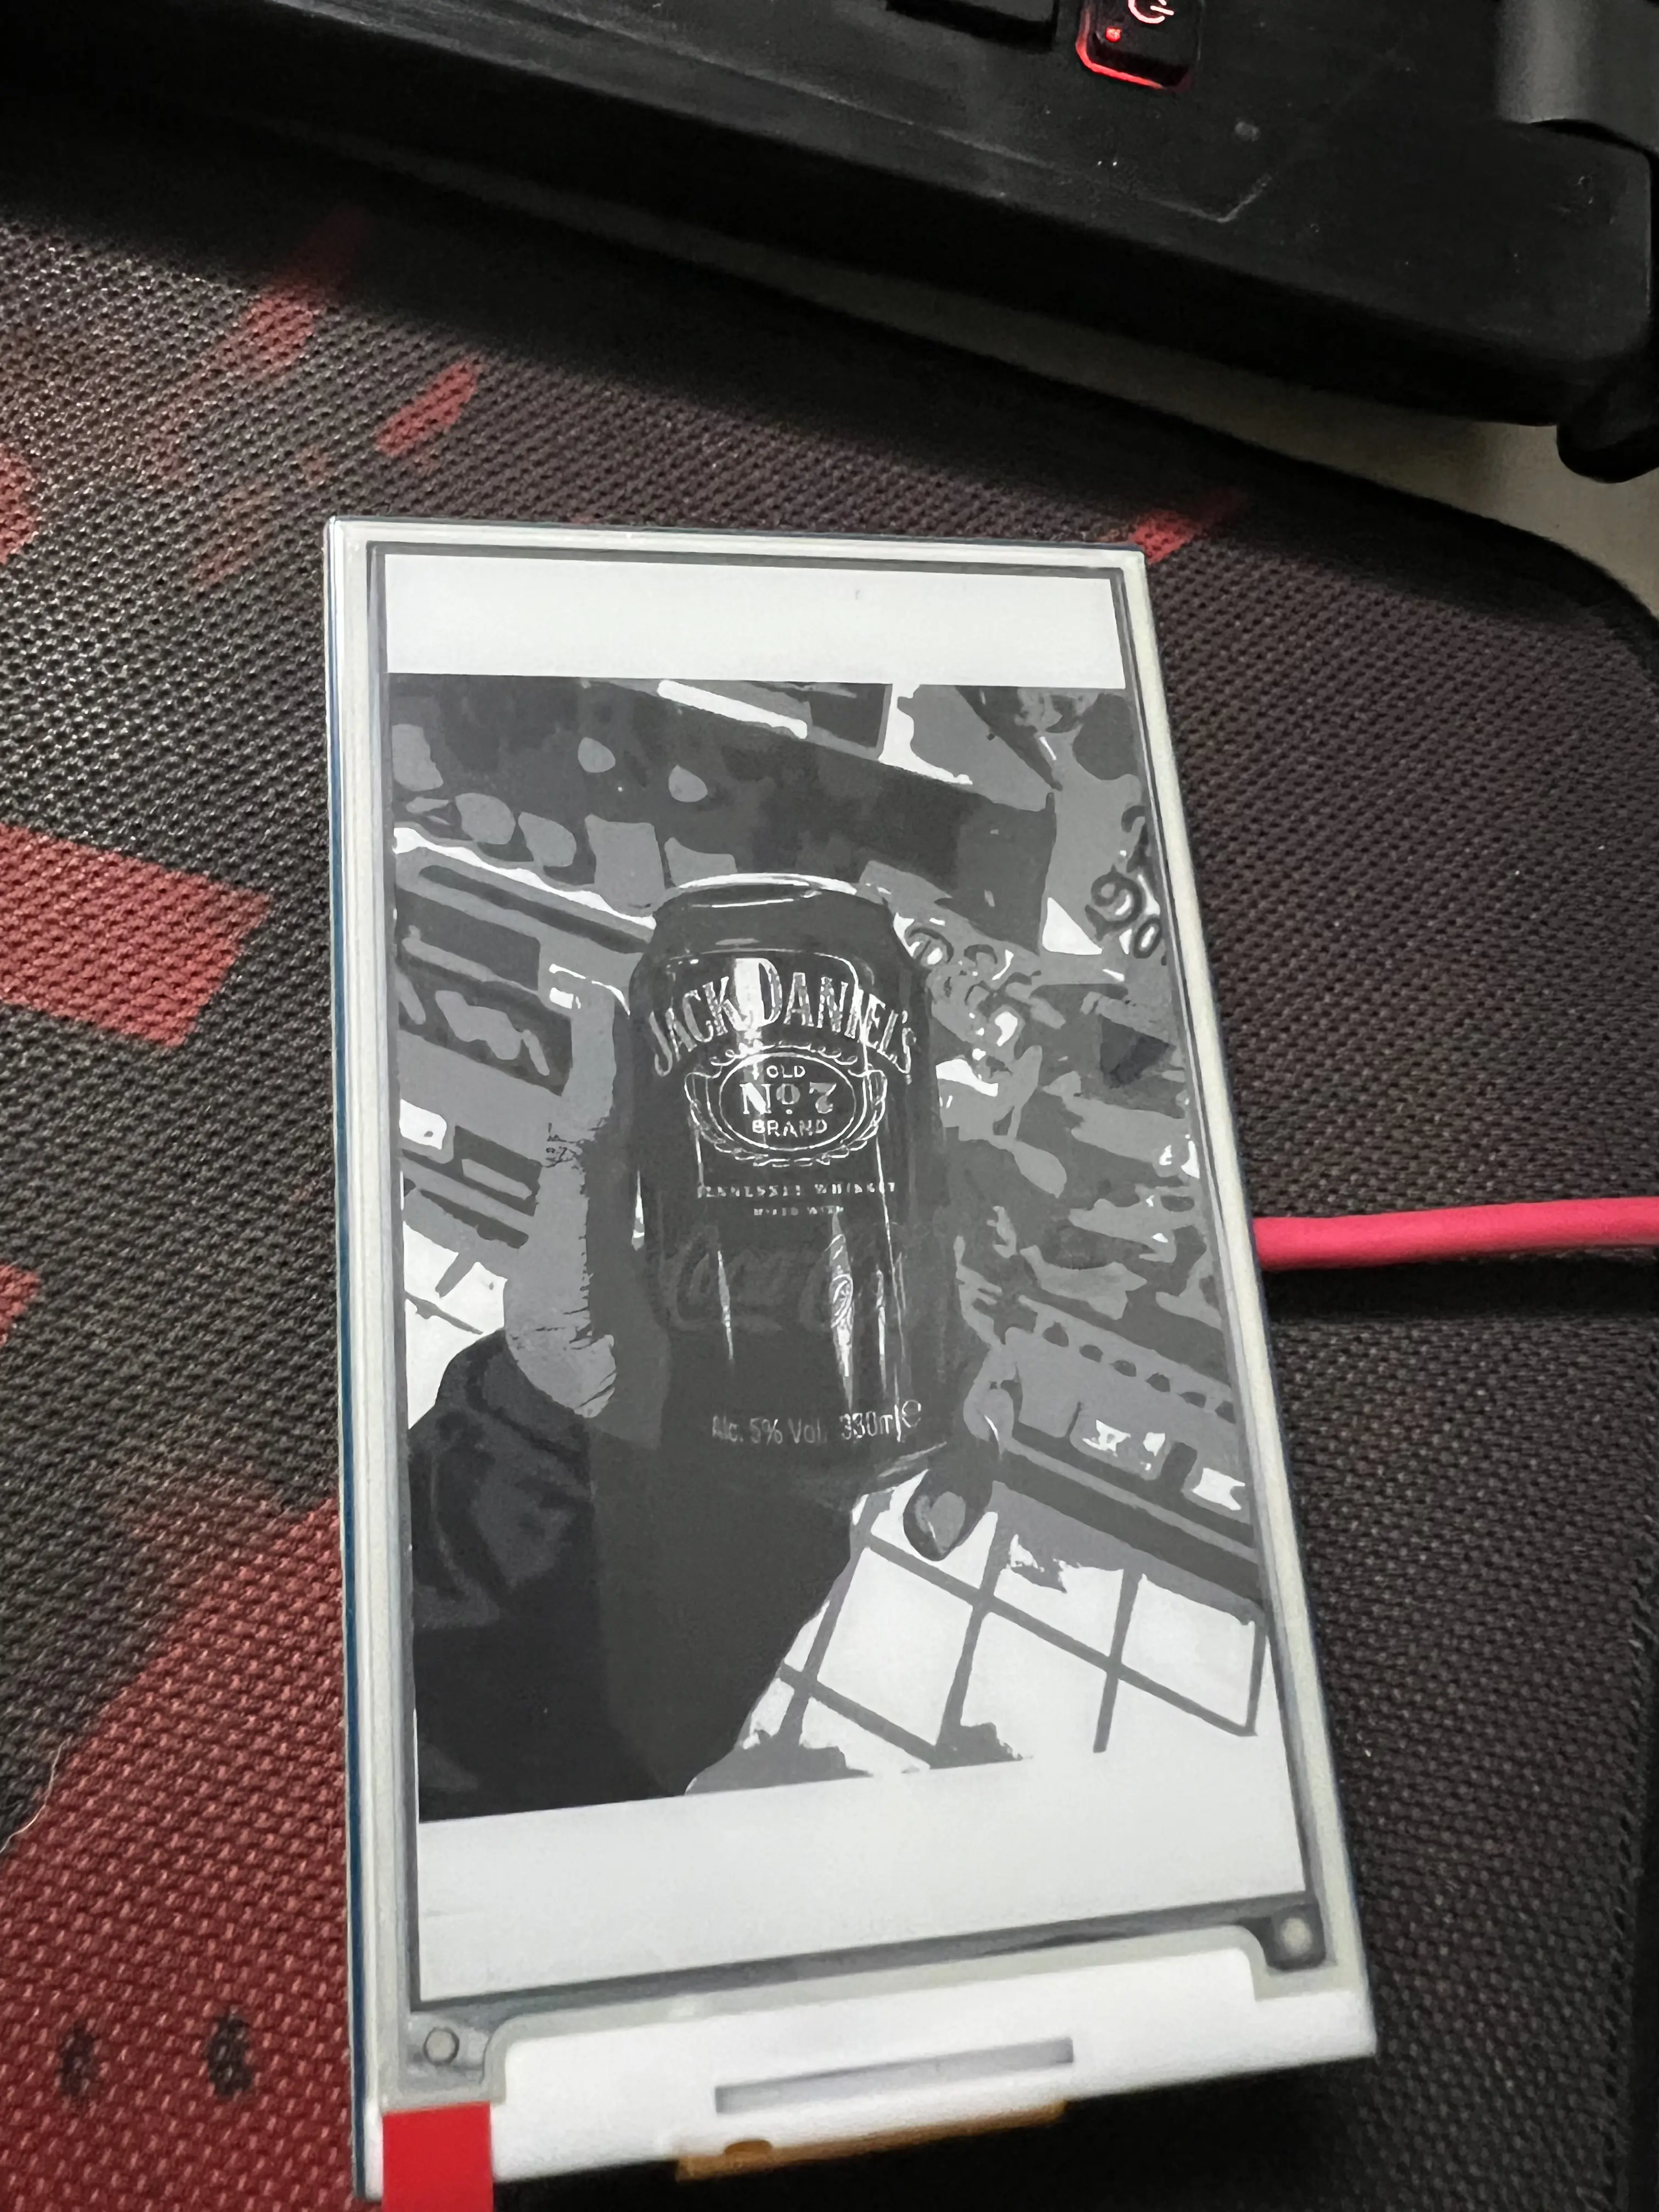
Now that texture looks cool! My fingers are back, there are no harsh transitions from one part of the photo to another, and because of how the algorithm diffuses out error, you get some detail back as well, like on my sleeve. There’s a bit of bokeh as well!
I think a GIF of this image over the grayscale one will really show you the difference dithering makes.

One last thing needs to be done. The resolution of the screen I had was 800x480, but the images that I have generated have a resolution of 640x480. To reconcile this, I added some padding on the top and the bottom. We have now come to the final command used to generate the image:
magick original.heif \
-resize 480x640 \
-gravity center -extent 480x800 \
-dither FloydSteinberg \
-colorspace gray -depth 2 -type truecolor \
final_image_with_padding.bmp
Steps to get the Pi working #
- Once I had the command, it was trivial enough to create a bash script to run the same for all the photos I had.
- After setting up the Pi, I copied over the photos to be displayed through
scp, and created a Python script to display an image at random when it is executed. - I did not create any buttons to navigate between photos, so what I came up with instead was to run the script every time you power the Pi on. This would then switch the image when powered on, and would keep the image as is when powered off. This is done the same way you setup a cron for a Linux system:
- You do
crontab -e, and open up your favorite terminal editor. - Then use the following syntax to set up a job that runs on boot. For example, for a Python script, you would do:
@reboot python3 /path/to/file
- You do
The photos did look crisp on the screen, probably due to the (native) resolution of the images.
If you want to learn more #
- ImageMagick has a lot of example scenarios to showcase their tools. This one on color quantization and dithering was a godsend in helping me finish my project.
- Damar’s animation on dithering teaches you what dithering is quickly and in an engaging manner.
- Dithering looks great on images, but can get messy when applied to video due to how each object in a scene might be dithered when looking from different angles. Lucas Pope’s post on how he made it work in Return of the Obra Dinn is something you might find interesting.